事务管理在系统开发中是不可缺少的一部分,Spring提供了很好事务管理机制,主要分为编程式事务和声明式事务两种。
参考:一口气说出 6种,@Transactional注解的失效场景
& 是取地址符号 , 即取得某个变量的地址 , 如 &a
参考:Go中*和&区别
println打印对象只能打印出其指针,需要使用fmt.Printf,如下
1 | fmt.Printf("%+v\n", user) |
defer是Go语言提供的一种用于注册延迟调用的机制:让函数或语句可以在当前函数执行完毕后(包括通过return正常结束或者panic导致的异常结束)执行。
defer语句通常用于一些成对操作的场景:打开连接/关闭连接;加锁/释放锁;打开文件/关闭文件等。
defer在一些需要回收资源的场景非常有用,可以很方便地在函数结束前做一些清理操作。在打开资源语句的下一行,直接一句defer就可以在函数返回前关闭资源,可谓相当优雅。
1 | f, _ := os.Open("defer.txt") |
如果要通过一个对象找到一个类的名称,此时就需要用到反射机制(反射技术是用来做框架的,一般情况下Java私有对象不能被访问,但是暴力反射可以访问私有对象)。
任何一个类如果没有明确地声明继承自哪个父类的时候,则默认继承Object类,所以getClass()方法是Object类中的。
文件在包java_reflect目录下
1 | // 类名:Y |
1 | class Y{ |
输出 
airflow分布式部署所依赖的组件有mysql,redis,web-server,scheduler,worker等,可以将这些组件部署在不同的机器上,来减低单台机器的压力
单机安装请参考:Ubuntu16.04安装apache-airflow
然后在不同的机器上启动不同的组件
1 | airflow webserver -D |
安装airflow其他支持组件,比如airflow-kerberos,参考
1 | https://awesome.dbyun.net/study/details?mid=160&id=7427 |
airflow启用kerberos,参考
1 | https://github.com/astronomer/airflow-guides/blob/main/guides/kerberos.md |
ACID 是数据库事务管理的四个关键属性,用于确保数据在并发环境下的可靠性和一致性。
原子性指的是一个事务中的所有操作要么全部执行成功,要么全部不执行。换句话说,事务是不可分割的最小单位。ACID模型的原子性主要涉及InnoDB事务。
例如,在银行转账操作中,假设从账户 A 转账到账户 B 是一个事务。如果在从 A 扣款后,B 未能成功入账,整个操作就会回滚到初始状态,A 账户的余额也不会减少。
相关的MySQL功能包括:
数据库通常有各种完整性约束,如主键约束(Primary Key Constraint)、外键约束(Foreign Key Constraint)、唯一性约束(Unique Constraint)、检查约束(Check Constraint)等。一致性要求在事务执行之前和之后,这些约束必须始终满足。
例如,假设数据库要求每个用户的余额不能为负数,如果一个事务试图将用户的余额更新为负数,该事务将会失败并回滚,因为它违反了数据库的一致性约束。
隔离性指的是在并发环境下,各个事务相互隔离执行,事务的中间状态对其他事务是不可见的。这意味着每个事务的执行应该不会受到其他事务的影响。
数据库通过使用锁和其他并发控制机制来实现隔离性。例如,在两个事务同时试图更新同一条记录的情况下,数据库会确保这些事务不会相互干扰,一个事务必须在另一个事务完成之前等待。
持久性指的是一旦事务提交,数据库系统必须确保事务的结果被永久保存下来,即使在系统崩溃或断电的情况下也是如此。
这通常通过将事务的更改写入持久存储(如硬盘)来实现。例如,如果一个银行转账事务已经提交,即使服务器随后崩溃了,系统在恢复后仍然能保证该事务的结果是持久的,转账操作已被正确记录。
在 Amazon EMR 版本 5.28.0 及更高版本中, Amazon EMR 默认情况下会在安装 Spark、Hive 或 Presto 时安装 Hudi 组件。
Amazon EMR的版本和hudi的版本对应可以参考文档:Hudi 发行版历史记录
可以使用下面命令进入hudi-cli
1 | /usr/lib/hudi/cli/bin/hudi-cli.sh |
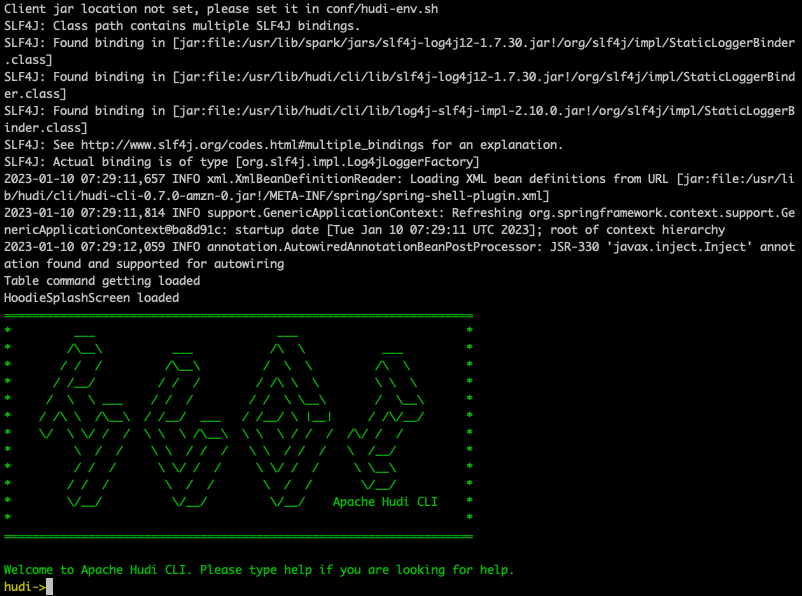
hudi-cli如下
退出cli,输入exit
我们可以在hive中注册hudi表,然后使用hive,sparkSQL或者presto对其进行查询
参考:Hudi 的工作原理
参考:ubuntu安装mongodb-4.4(通过apt命令)
1 | mongo ip:27017/db_name -u user_name -p |
参考:MongoDB 教程
1 | use xx_db |
insert one
1 | use xx_db |
insert many
1 | db.xx_collection.insertMany( |
delete one
1 | use xx_db |
Helm是k8s的包管理工具,使用helm可以简化k8s应用部署
而使用了helm之后,helm会提供一个模板,将这些yaml文件作为一个整体进行管理,高效复用,同时方便版本管理
1 | https://helm.sh/zh/docs/intro/install/ |
mac安装helm
1 | brew install helm |
ubuntu安装helm
1 | curl https://baltocdn.com/helm/signing.asc | sudo apt-key add - |
添加helm bitnami源
1 | helm repo add bitnami https://charts.bitnami.com/bitnami |
参考:
英文官方文档:https://hudi.apache.org/docs/concepts/
中文官方文档:https://hudi.apache.org/cn/docs/0.9.0/concepts/
hudi表的类型有2种,分成cow和mor
cow是Copy On Write的缩写,含义是写入时复制(只有parquet文件)
mor是Merge On Read的缩写,含义是读取时合并(log文件+parquet文件)
2种hudi表类型的对比

1.生成内存快照文件(Heap Profile)
1 | jmap -dump:format=b,file=heap.hprof ${pid} |
2.使用Eclipse Memory Analyzer工具对hprof文件进行分析
1.12.0版本需要jdk11,所以下载1.10.0版本
1 | http://www.eclipse.org/downloads/download.php?file=/mat/1.10.0/rcp/MemoryAnalyzer-1.10.0.20200225-linux.gtk.x86_64.zip |
由于堆栈文件可能会很大,所以需要修改 MemoryAnalyzer.ini 文件中的-Xmx1024m,比如改成-Xmx10240m,否则可能会遇到下面报错
1 | an internal error occurred during parsing heap dump from |
3.分析堆栈文件