1.下载安装包
1 | https://www.consul.io/downloads.html |
2.解压
1 | unzip consul_1.5.3_linux_amd64.zip |
3.mv
1 | sudo mv consul /usr/local/bin/consul |
4.启动
参考:https://blog.csdn.net/u010046908/article/details/61916389
-dev 开发模式启动的时候,数据是存储在内存中,重启之后数据将丢失
1 | consul agent -dev |
-server 生成模式启动的时候,如果是server的话需要指定-server,如果是client的话,需要指定-client,比如
1 | consul agent -ui -server -bootstrap-expect 1 -data-dir /tmp/consul -node=consul-server -bind=192.168.1.100 -client=192.168.1.100 |
-bootstrap-expect 1 通知consul server我们现在准备加入的server节点个数,该参数是为了延迟日志复制的启动直到我们指定数量的server节点成功的加入后启动
-data-dir /tmp/consul 数据持久的路径
-node=consul-server 指定节点在集群中的名称
-bind=192.168.1.100 该地址用来在集群内部的通讯,集群内的所有节点到地址都必须是可达的,默认是0.0.0.0,这意味着Consulo会使用第一个可用的私有IP地址,Consul可以使用TCP和UDP并且可以使用共同的端口,如果存在防火墙,这两者协议必须是允许的
-client 指定节点为client,指定客户端接口的绑定地址,包括:HTTP、DNS、RPC,默认是127.0.0.1,只允许回环接口访问,也就是本机访问,如果要想同一局域网内的其他机器访问,需要修改成自己的内网ip
server节点,指定client等于内网ip,统一局域网的机器可以访问,指定client=0.0.0.0,外网机器可以访问
1 | nohup ./consul agent -ui -server -bootstrap-expect 1 -data-dir /home/worker/projects/consul-1.5.3/consul-data -node=xxx -client=xxx >> ./logs/consul.log 2>&1 & |
client节点,不指定client的话,只能本机访问client节点,指定client=0.0.0.0,外网机器可以访问
1 | nohup ./consul agent -ui -data-dir /home/worker/projects/consul-1.5.3/consul-data -node=xxx -bind=xxxx -client=xxx >> ./logs/consul.log 2>&1 & |
join
1 | ./consul join server的ip |
当3台分布式部署的时候,需要如下部署
参考:https://blog.csdn.net/chenchong08/article/details/77885989
1 | nohup ./consul agent -ui -server -bootstrap-expect 3 -data-dir /home/worker/projects/consul-1.5.3/consul-data -node=host1 -client=0.0.0.0 -bind=ip1 >> ./logs/consul.log 2>&1 & |
查看集群状态
1 | ./consul operator raft list-peers |
这时候host2是leader,当host2挂掉的时候,会有短暂不可用,之后leader选出,host1成为新的leader
1 | ./consul operator raft list-peers |
新的leader的日志不断刷说有个follow挂了
1 | 2019/12/30 16:42:17 [ERROR] raft: Failed to heartbeat to 10.90.1.xx1:8300: dial tcp 10.90.1.xx3:0->10.90.1.xx1:8300: connect: connection refused |
启动host2的进程,自动加入集群,不用再join,集群状态恢复
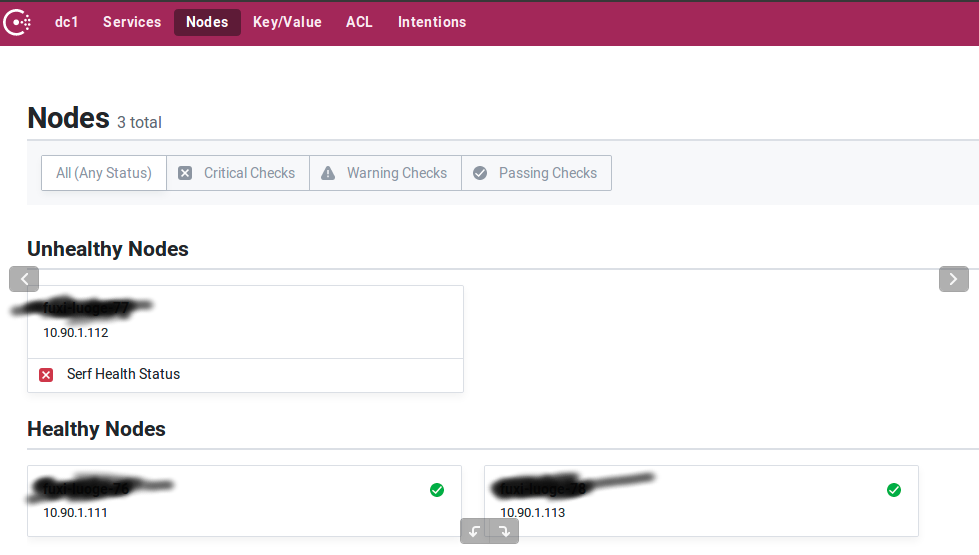
5.使用
访问8500端口
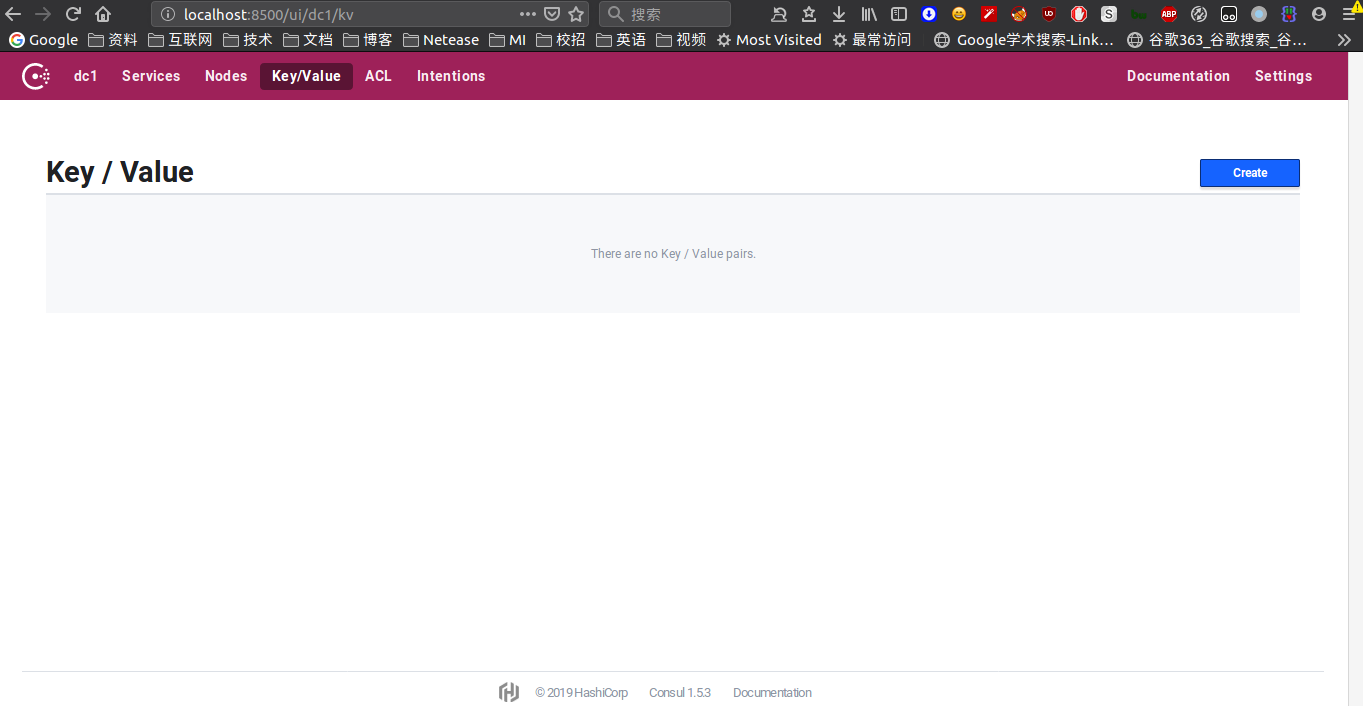
5.kv存储
consul支持通过HTTP API和通过CLI API将配置进行存储
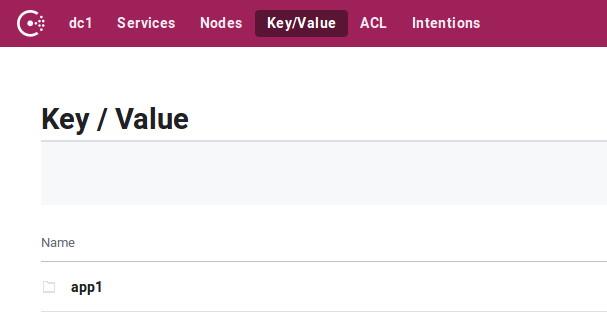
put命令
1 | consul kv put app1/config/parameter1 1 |
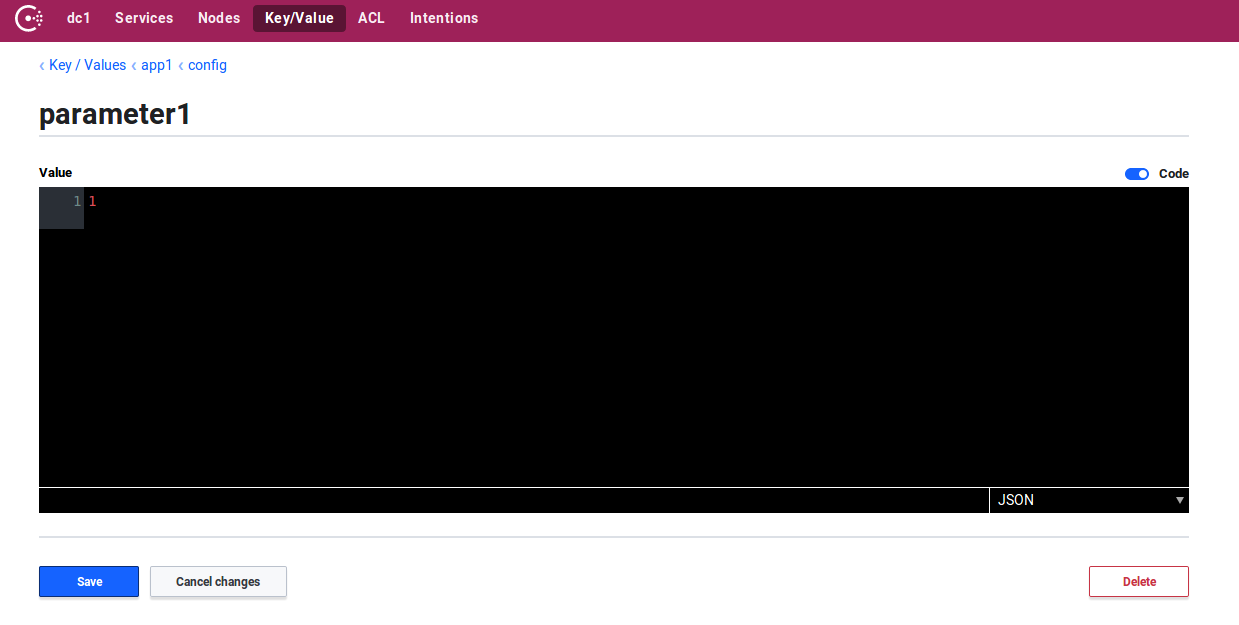
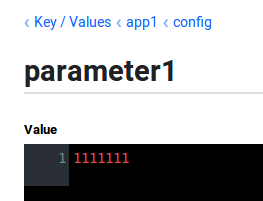
put成功之后,就可以在页面中看到该配置
具体数值
put之后可以使用get命令来获取这个配置
1 | consul kv get app1/config/parameter1 |
递归获取
1 | consul kv get -recurse app1 |
删除
1 | consul kv delete app1/config/parameter2 2 |
HTTP api
get kv
1 | curl http://xxxx:8500/v1/kv/app1?recurse |
get单个
1 | curl http://xxx:8500/v1/kv/app1/config/parameter1 |
其中kv存储的v的值是经过base64编码过的,需要进行解码
1 | echo 'MQ==' | base64 -d |
put kv
1 | curl -X PUT -d '1111111' http://xxxx:8500/v1/kv/app1/config/parameter1 |
delete kv
1 | curl -X DELETE -d http://xxx:8500/v1/kv/app1/config/parameter2 |
consul配置导入和导出
export命令
1 | ./consul kv export app1/config |
import命令
1 | ./consul kv import @test.json |

watch
1 | https://www.consul.io/docs/agent/watches.html |
当配置更新能自动回调
需要写一个配置文件,比如 consul-watch.json
1 | { |
上面的配置是监听单个key的变化,如果想监听多个
1 | "type": "keyprefix", |
然后在启动命令中加上配置文件夹的地址,比如
1 | -config-dir /home/lintong/software/consul-1.5.3/consul-conf |
然后当配置发生变动的时候,会自动调用这个回调接口
如果修改了配置,比如把GET接口换成POST接口,需要reload这个配置,执行下面命令
1 | consul reload |
如果是post的回调接口的话,consul回调的时候会往post请求的request中放入更新的这一条配置,headers和body如下
1 | Host: localhost:8000 |